Construction
Pics
click on all pics to see 640X480 version |
Construction
Pics
click on all pics to see 640X480 version |
 |
 |
|
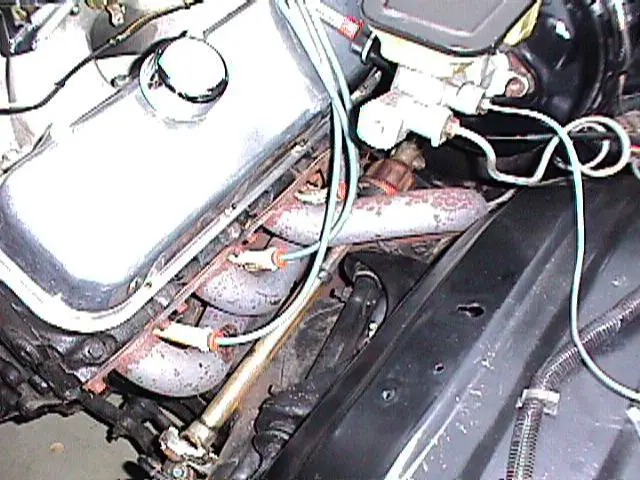
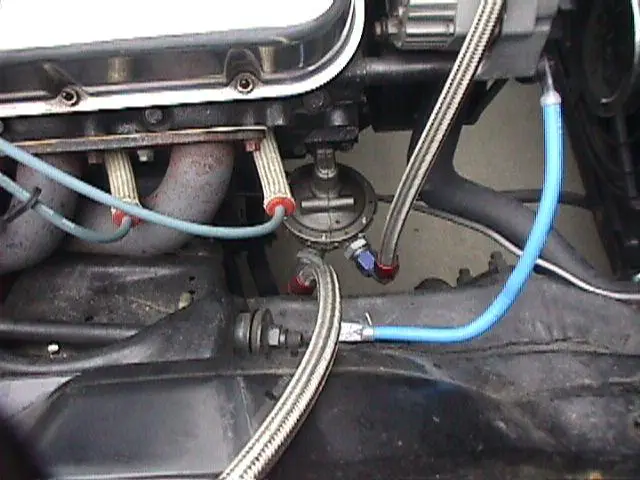
| Header fit is TIGHT! This shot shows the drivers side pipes. Look how close the pipes are to the steering column. Also, notice that one tube goes around the outside of the steering column. This tube slips out for installation and removal of the header. Also, you can see my homemade sparkplug boot "socks" that I made using some material that was donated by my wife's place of employment. (It was on the up-and-up). They deal with some high temp tubing, that was perfect for what I needed. | Who says you need a massive electric fuel pump? This is a shot of the Carter Super Competition fuel pump. This mechanical pump is rated at 172 GPH @ 8 psi. I think that is a exaggerated figure, but I have never had a fuel delivery problem. It came out of the box with a -10 inlet and a -8 outlet. I changed the inlet to a -8 AN fitting. I don't even run a regulator with this pump. I run aprox. 8 psi at idle and it will drop to aprox 7 psi at full throttle. I was afraid this would be too much pressure at idle, but it seems to work fine with my Holley 850 dp. | |
 |
 |
|
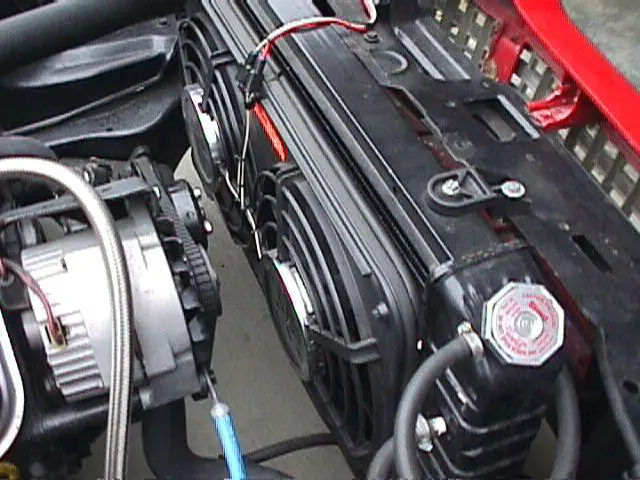
| How do I keep this boat anchor cool? With a BIG radiator and twin electric fans. You can see in this shot the Modine 4 row radiator that I bought from Wholesale Radiator for about $160. I had to fabricate upper mounts as you can see in this shot. Cool thing was, the extra mounts came with the Flex-a-lite 220 fan assembly. I had to slightly modify them to get them to work. | Killer burnouts, no problem with a line lock! Here is a shot of the TCI line lock I recently installed. Pretty simple job. Brake fluid is very corrosive, though! Make sure you get it all cleaned up, or you'll have paint removed. | |
 |
 |
|
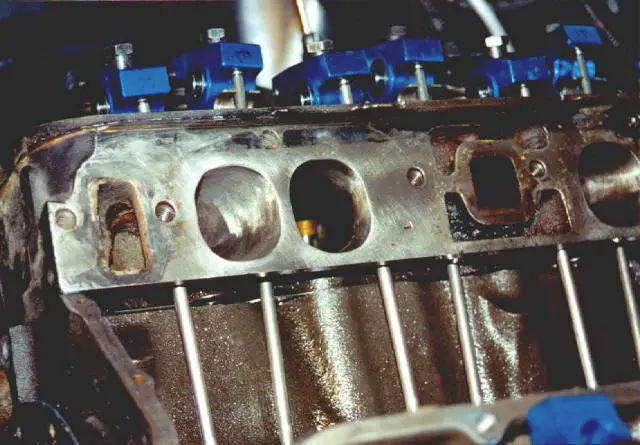
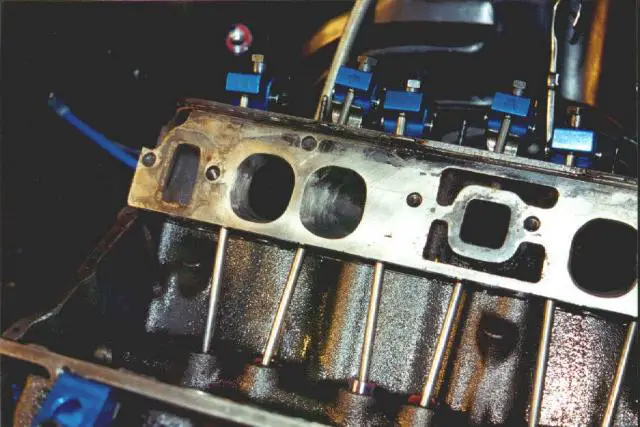
| Here is a shot of the intake ports. You can see that they are gasket matched about 2" into each runner as seen in the #2 intake port. These next few shots are before my latest cam swap and engine rebuild. | Same thing, different angle. Notice the funky pushrod angles due to the splayed valve design of the big block Chevy head design. | |
 |
 |
|
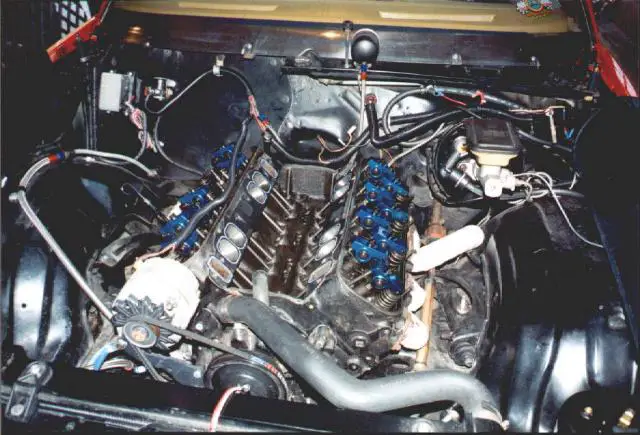
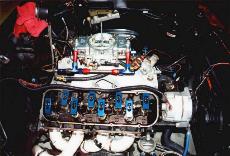
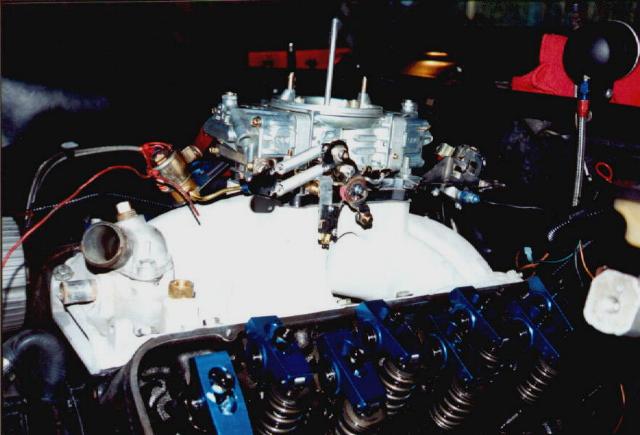
| Shot of engine in car. This was taken when I did the first (unsuccessful) cam swap. I was about finished with the re-assembly at this point. | Here is a shot of the BG Silver Claw carb and Victor Jr. intake bolted on. I had originally planned on tapping off the main fuel supply for the nitrous system. But, after listening to many advise against doing this, I later decided to install a Holley blue pump to supply the nitrous system. The Carter Super Competition mechanical pump supplies fuel for the carb. | |
 |
 |
|
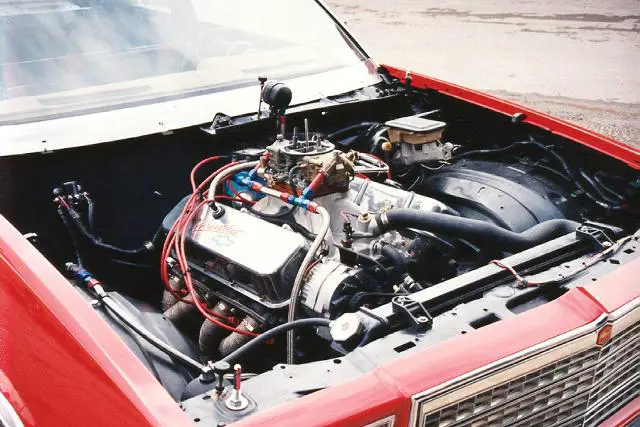
| Here is a shot (not a good one), of the microswitch that will turn the nitrous system on. I installed a master switch in the car that arms the system. I thought this is the best way to go. I don't really want to have to push a button. Also, if the car get's out of shape, all I have to do is the normal instinctual reaction, LIFT off the pedal!!! | The Heartbeat of the Malibu! 461 cubic inches of Chevy Rat Power!! This is what my engine looked like in '98. It is a pretty mild engine, despite it's looks. It is only 9.5:1 CR, burns pump gas and is fairly streetable. Since this picture was taken, I have installed the BG Carb, nitrous, cam change, engine rebuild, and coated headers. |
![]()
![]()
Copyright � 2001 MalibuRacing.com. All Rights Reserved.