 |
|
 |
 |
 |
Frame Notching
| This subject seems to come up quite
often as many feel it's quite difficult to perform. If you have basic
fabrication and welding skills, notching your rear frame rails for
additional tire clearance can be easily done in your home garage for
little money. I think it cost me about $30 in materials to do
mine. First you need to figure out how your going cut the outer
skin off the original frame. You can use a torch, a plasma cutter or
even a 3" abrasive cut-off tool (slow, but what I used). The first
two cuts are made vertically in front and behind the tire. Leave about 3
or 4 inches clearance between this cut and the tire to allow for
vertical tire movement and also to allow for a taller tire down the road
if you happen to go taller. The next two cuts are the top and
bottom of the frame rail, the length of the rail "hump" from
the front vertical cut to the rear one. I suggest not going any deeper
than 1" cut from the outer skin. The original rail is about 2"
wide and you don't want to make it weaker than you have to. Once
the outer frame rail skin is removed, use a grinder to clean up your
cuts and straighten the edge of the rail that is left. Next use a large
piece of cardboard and trace the section of frame left to make a
template to transfer to .090" steel sheet. Once the template is
done, cut out the steel sheet and test fit to the frame. Once your
satisfied with the fit of the replacement outer skin, tack weld into
place. The front and rear cuts will need two small pieces made to fill
the gap where the rail now steps in. At this point, it's time to
carefully and slowly weld the new plates completely. Take your time and
skip around as too much heat in one area can easily warp the rear frame
section. I suggest skipping from side-to-side to minimize warpage.
Keep an eye on your rear door gaps and trunk lid gaps as your welding as
they will show tell-tale signs of warpage...listen for creeks as your
weld too as the welds cool, they will begin to "pull".
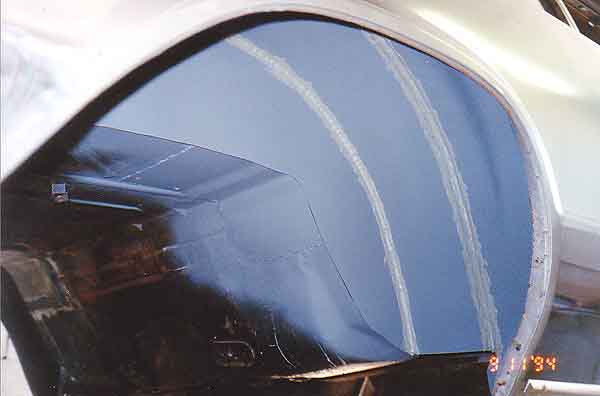
Lastly, I chose to add a crossmember to help strengthen the frame. I
used a piece of 1 1/4" steel tubing and placed it between the coil
spring and the shock. This cross tube is located as high as it could go
and runs side-to-side in the inside of the original frame...welded in
place and is welded to the inner side of the coil spring pocket for
additional strength. With these mods made, you should now have
approx. 14" between the frame and the inner wheel well lip,
assuming you've rolled the wheel lip up previously.
Courtesy of Todd Geisler
|
|
|
|
|
|
|
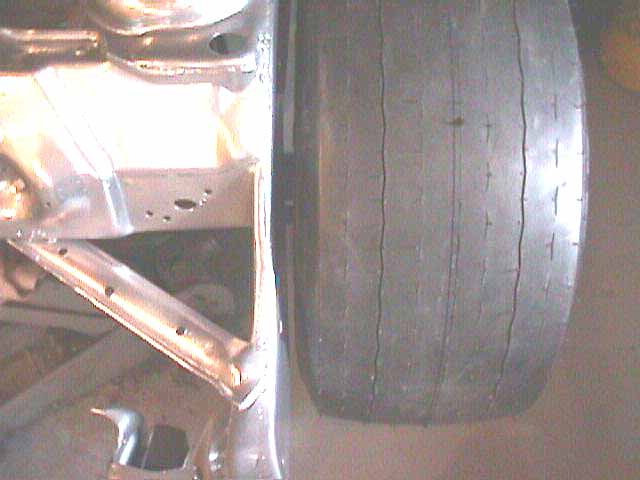
Pictures of a Grand National with the frame notched. The guy must be running too much backspacing or a MASSIVE tire, because the tire is still rubbing the frame. Click on pictures for larger image. |
|
|
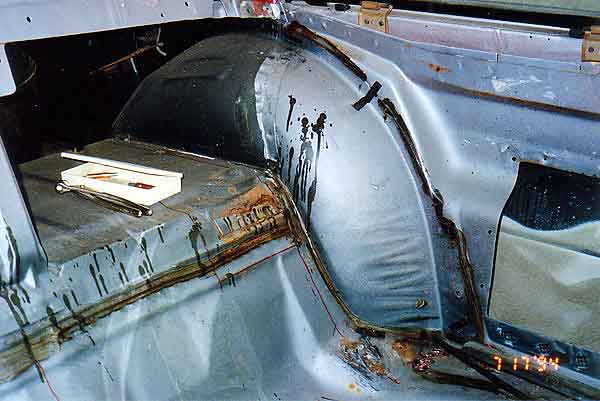
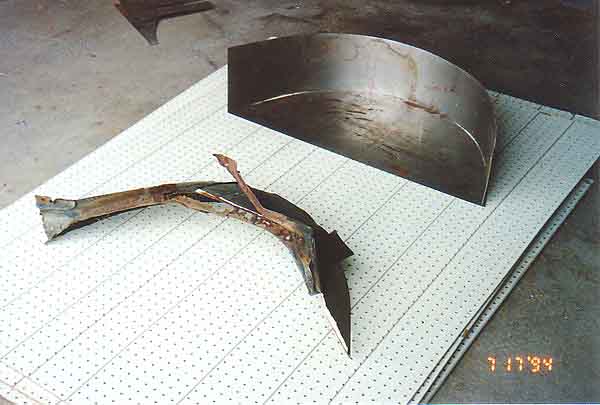
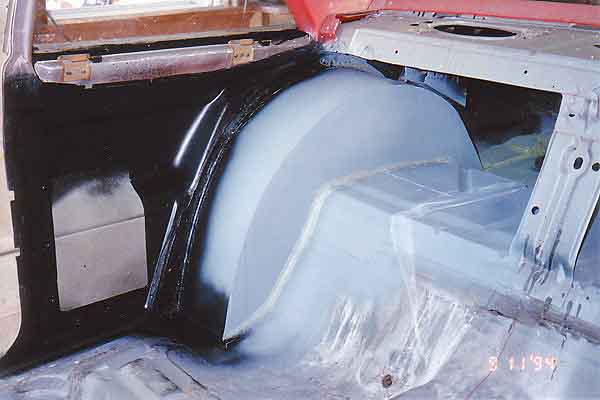
| One mod that
"should" be done with a frame notch is to "mini-tub"
the inner wheel wells. This will provide the most usable room for a
larger tire. You can either remove the stock inner wheel well and move
it and replace the gap with a filler strip, or completely fabricate a
new squared off inner wheel well. Both ways will accomplish the same
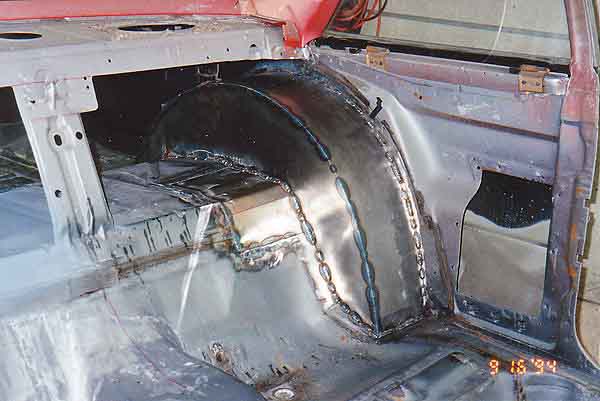
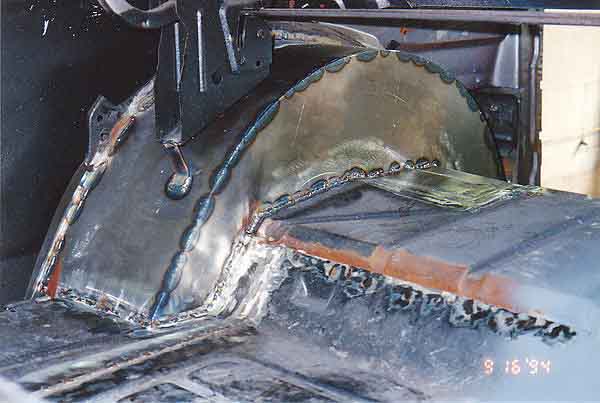
goal, and both are acceptable ways. My inner wheel wells were
rusted through where they met the trunk floor, so I chose to make
all new inner wheel wells. With all this work completed, I was
able to fit a 10.5 x 29.5 M/T ET Drag slick mounted on a 15 x 8.5
Centerline Convo Pro rim under the car. With careful measuring and back
spacing selection, you should be able to fit a tire section width
(sidewall buldge) of approx 12 1/2" to 13". Keep in mine when
going to a 30" tall tire, the front of the wheel opening usually
needs to be moved forward (stretched) slighlty for tire growth. A
29" tire seems to clear just fine, but a 30" tall tire is a
bit too close for comfort IMO. I stretched mine 1". I simply
took a pie cut out of the lower quarter panel from the body contour line
down to the rocker. Courtesy of Todd Geisler Click on pictures for larger image. |
|
|
Photos courtesy of Todd Geisler |
|
|
Josh Henline's
Frame Notching Pictures
Click on pictures for
larger view
 |
|
|
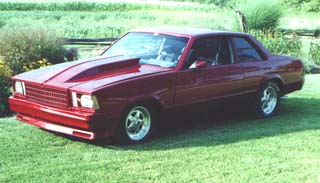
Pictures from Josh Henline. He is running 28 X 13.50 ET Street on 15 X 10 wheels with 5.5" backspacing. As you can see, the car sits low with the help of the frame notching. Josh says he removed 1.5" from each frame rail in his application. Click on frame pictures for larger image.
|
|
|
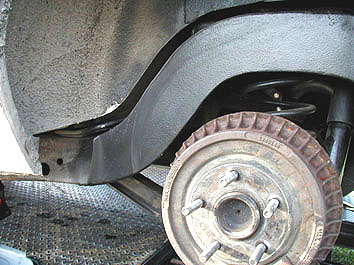
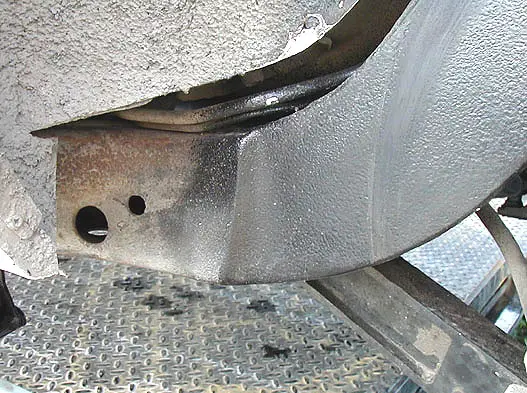
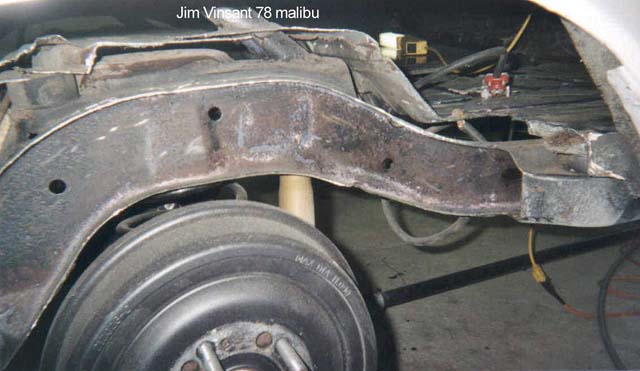
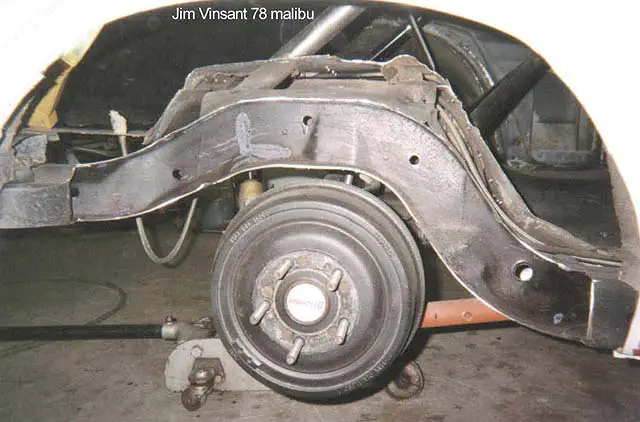
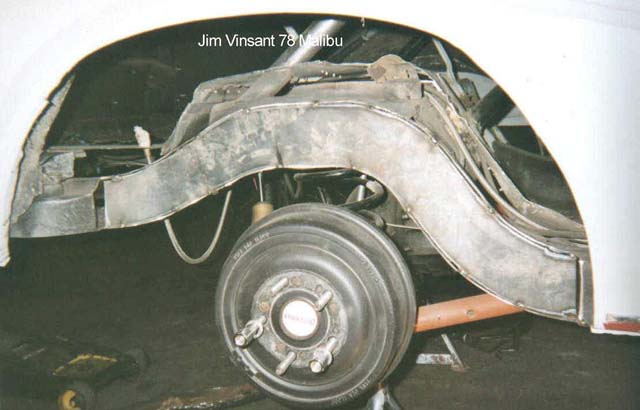
James Vinsant's
Frame Notching Pictures
Click on pictures for larger view
 |
 |
 |
 |
 |
Copyright 2002 MalibuRacing.com