OK guys I'm going to give this a shot, hopefully it will be helpful enough to get you started. Everyone does things different, this is how I did my conversion. It may take me a while to finish this :lol: , so bear with me.
I started out by getting all the parts I could think of before hand so I could do the swap quickly with no downtime. You will need to roundup;
-Standard windows - be sure to think about if you want factory tinted windows (A/C cars) or not.
-Inside upper and lower sail panels from a standard coupe - your b-pillar trim will work w/ both
-New window felts - you may need to trim the length slightly to fit your car exactly
-The black plastic trim that follows the roof/sail panel on the outside - standard is longer
-B-Pillar chrome trim - non Landau standard trim is thin and requires plastic clips to hold the trim to the b-pillar. Non Landau "Classic/Bright" trim is wide and wraps around the b-pillar post and attaches using the factory screws that hold the window roof seal retaining trim to the side of the b-pillar.
-3M windshield adhesive - I used one tube each side. A bit excessive, but there is no room for water to buildup and cause rust problems.
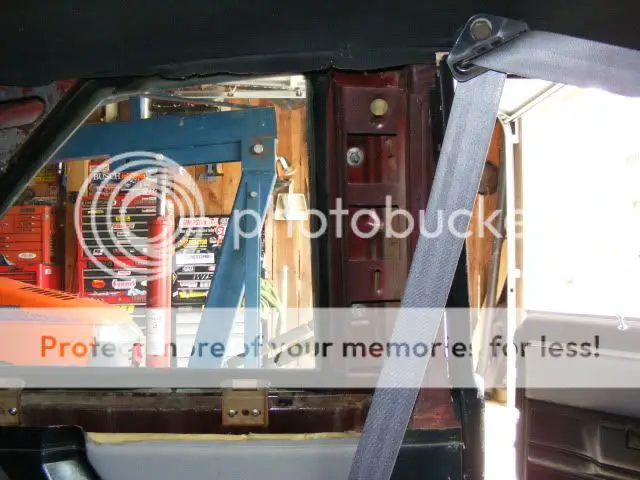
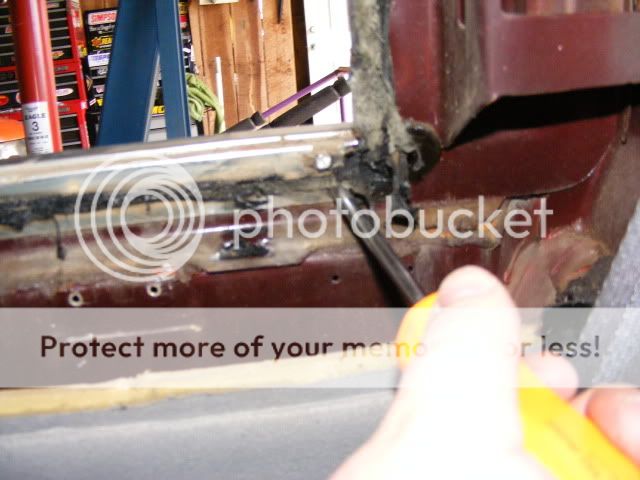
Here is the upper and lower sail panels removed. You can see the 2 nuts that secure the outer Landau trim to the car. Look very closely to the 2 lower sail panel attachment brackets. On the rear bracket you will see a pre-drilled hole less than 1/4" to the right and of the bracket (the other pre-drilled hole is behind the bracket in this picture). Looking at the foward lower bracket you will notice pre-drilled holes 2-3" foward of where the bracket is in its Landau sail panel position. During test fitting and final assembly, YOU WILL NEED TO MOVE THESE BRACKETS TO THE FOWARD PRE-DRILLED POSITIONS for the standard sail panels to fit CORRECTLY.
Remove the 4 brackets that help secure and set the window in the frame. 2 on the bottom, 1 on top, and 1 on the sail panel side.

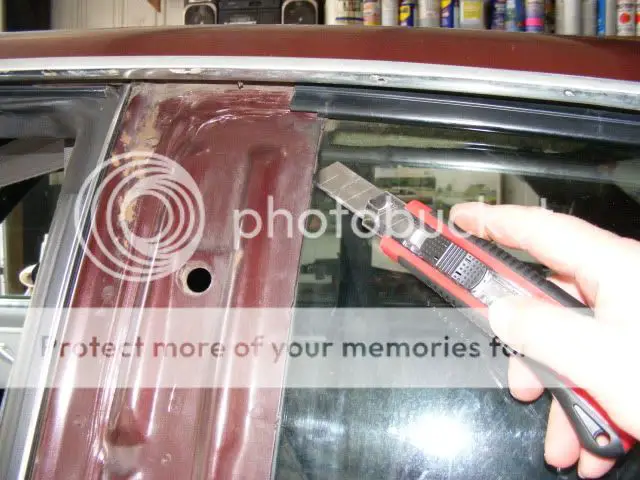
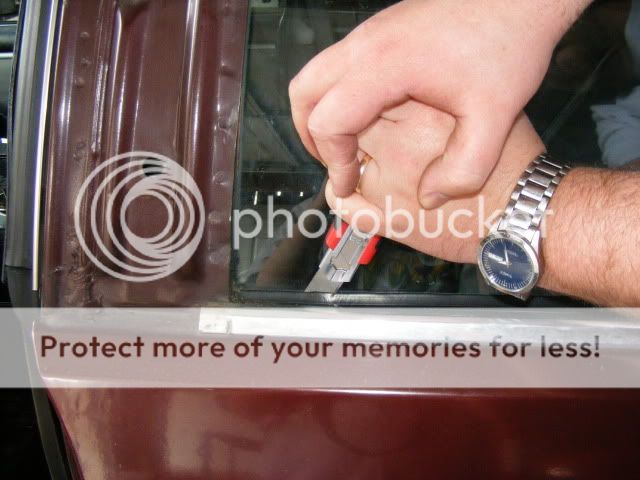
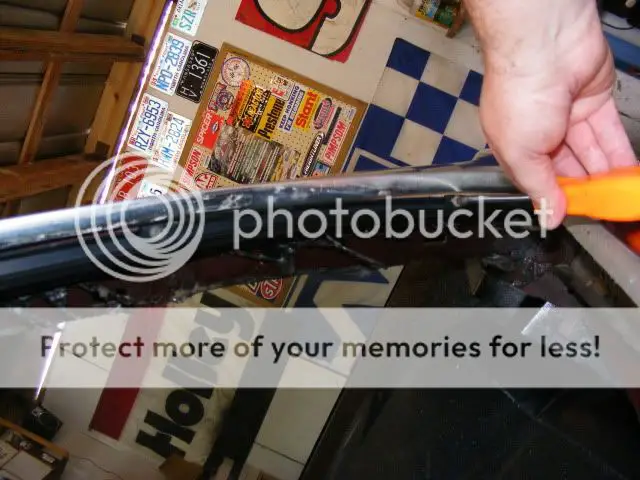
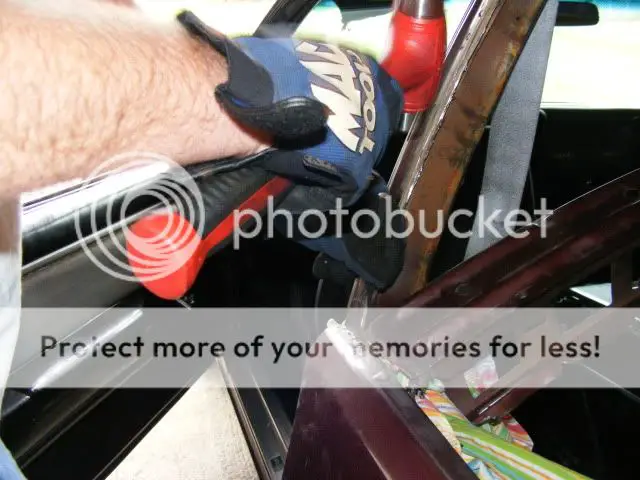
Remove the Landau trim. Cut the factory adhesive. I used a utility knife with the long flexible blades. You can cut a window out quick w/ one of these.

Locate and save these isolators. You will need them for the new quarter windows to sit on.
Locate and remove and save the screws securing the Landau window felt.
Remove the outside black plastic trim from the roof line/sail panel.
Remove and clean all the factory adhesive.
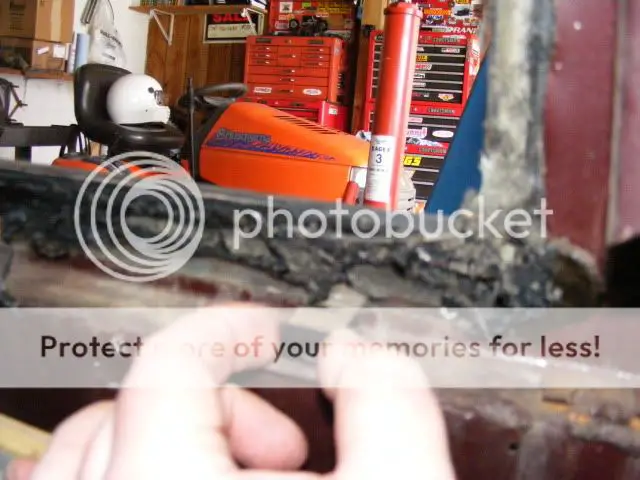
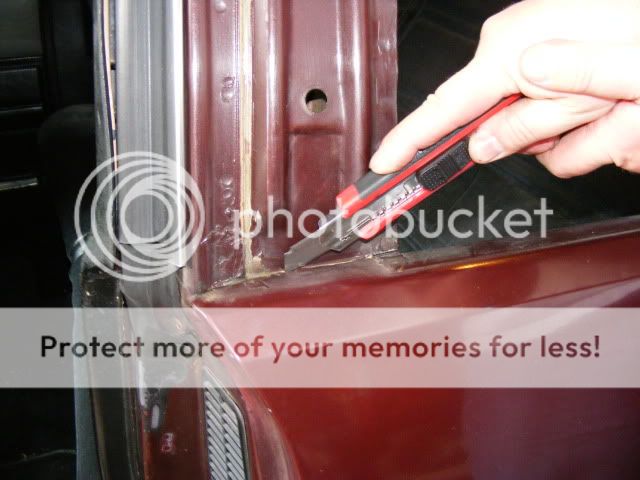
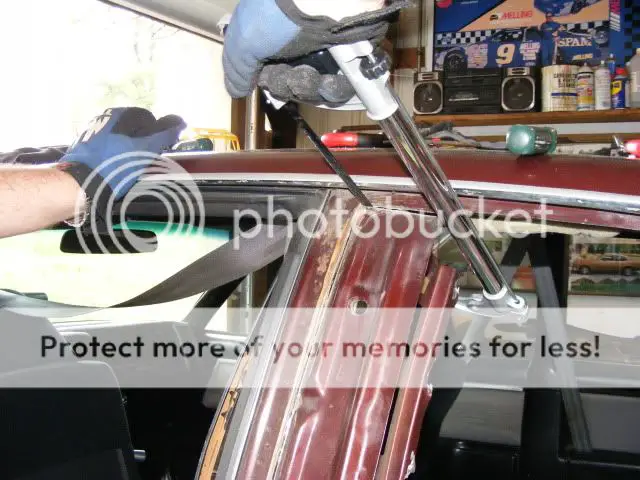
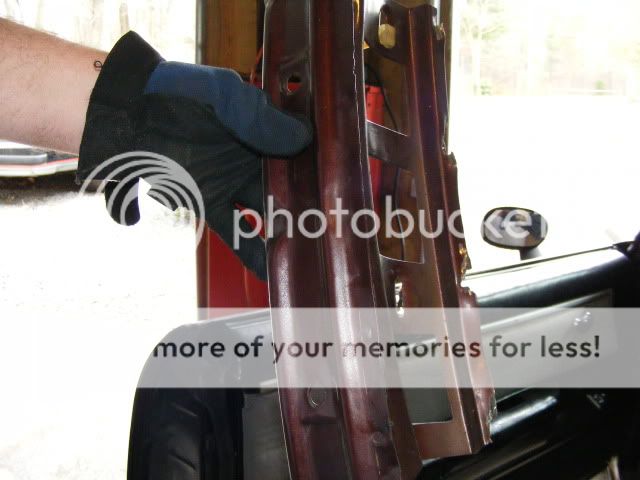
On the outside find the seam where the standard pillar is seam sealed to the Landau pillar. I used the same utility knife to cut out the seam sealer to leave a nice deep straight groove to cut and seperate the 2 pillars. Some say you can seperate the spot welds from the inside, but cutting from the outside seemed really easy and quick.


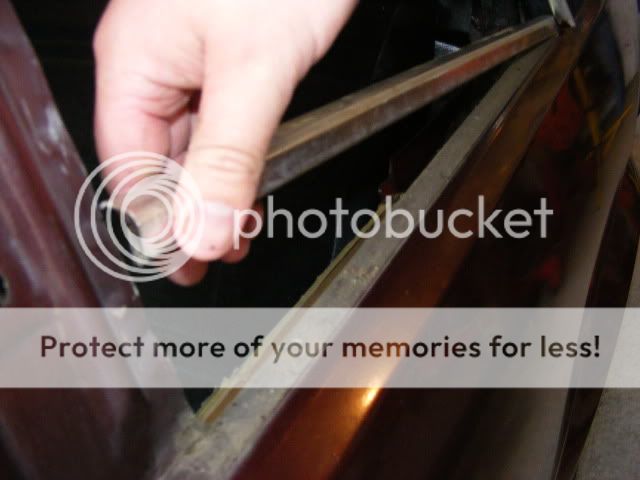
At the bottom rear of the Landau piller you will find a welded/braised area securing the pillar to the quarter, a few seconds with a hacksaw blade takes care of this
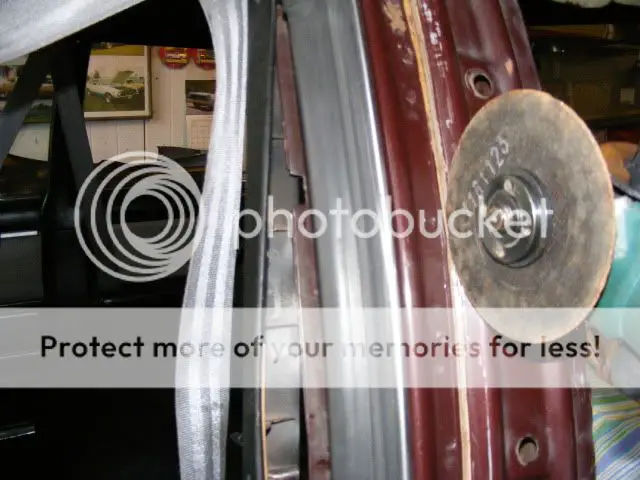
The top was secured with several spot welds, so I just went straight across the Landau pillar only
I used an angle grinder with a cutting disk for the cut to seperate the 2 pillars. Make sure you do whatever necessary to protect your interior when you start cutting.
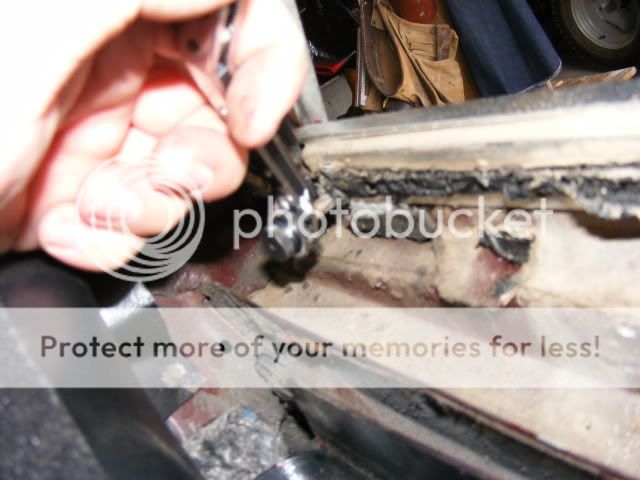
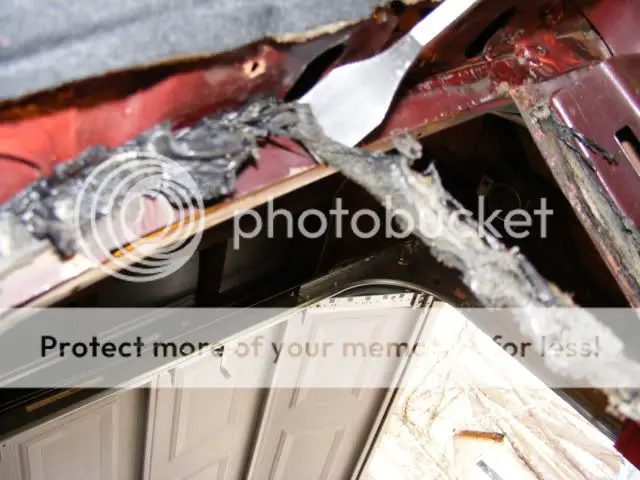
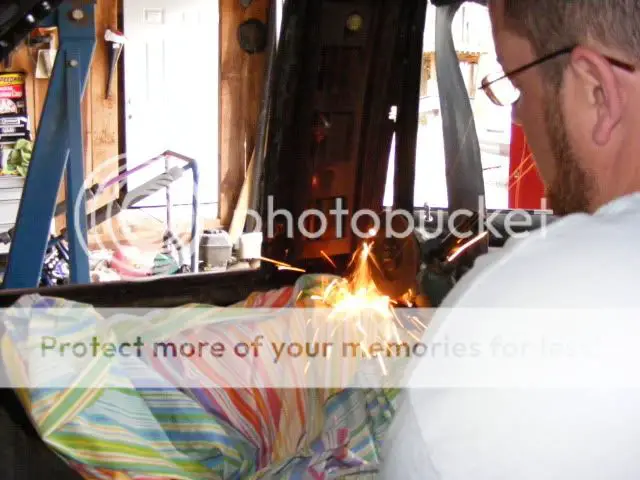
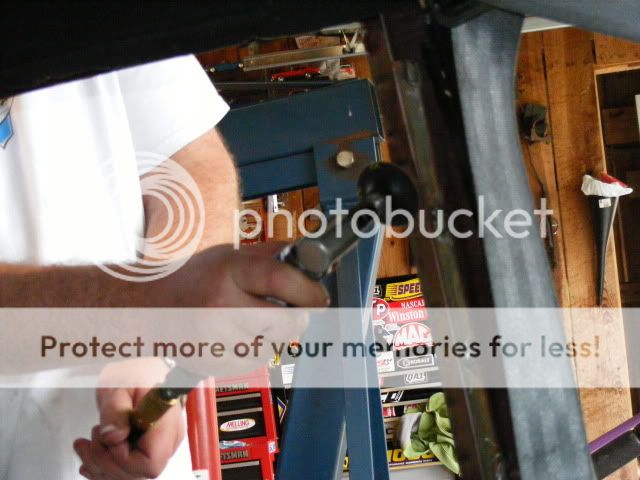
There are 3 or 4 spot welds in the inside. I sed a little grinder action and a few taps with the chisle
to get these loose
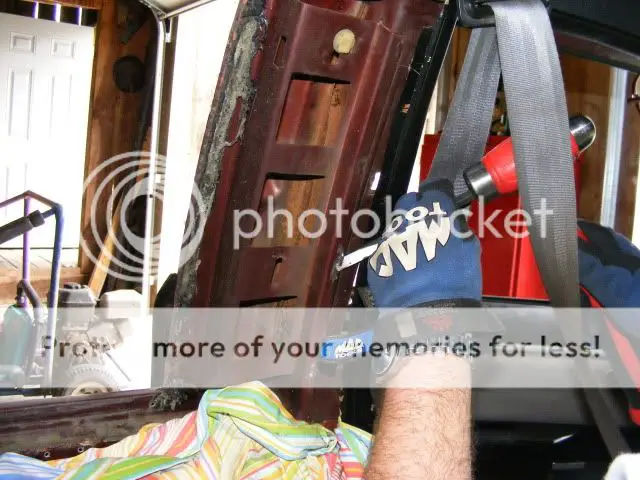
Ahhh, 1 more spot weld I had forgotten about....almost there
Boo-Yow! It's out
Clean up all those sharp edges and I recommend using your new glass as a template to straighten your window opening lip. GM did not care how warped the lip was while spot welding robots twisted the frames all up. The adhesive and window felts took up the slack so that you would probably never notice.
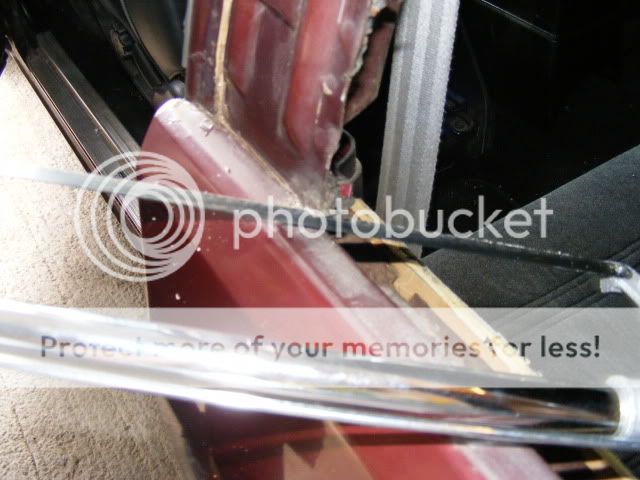
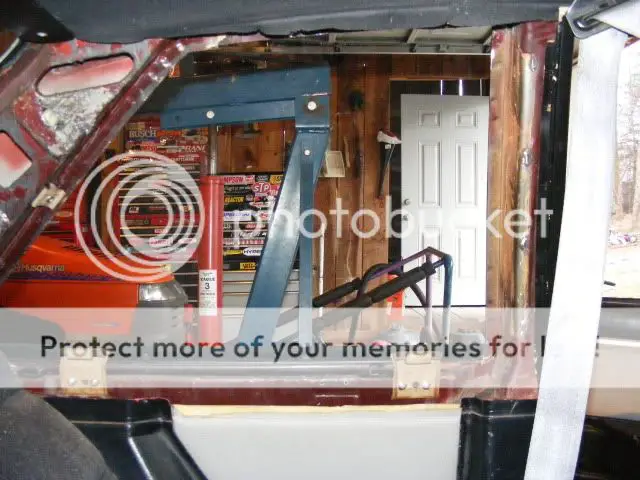
Use your new window to do as many test fits as necessary. The new window felt is in place in the photo. Also notice the "new" lower sail panel attachment bracket location in the foward pre-drilled holes. We reuse the rubber isolators that the window will rest on and window felt screws.
Now take it back apart and do any rust repair, body work, or painting needed.
I am missing several pictures of using the adhesive to set the windows, so I'll move on to some of the differences between all the standard and Landau parts.
Here we have the windows. The standard window is longer that the Landau window. You can also see why I told you to think about what windows you want to source (A/C or non-A/C)

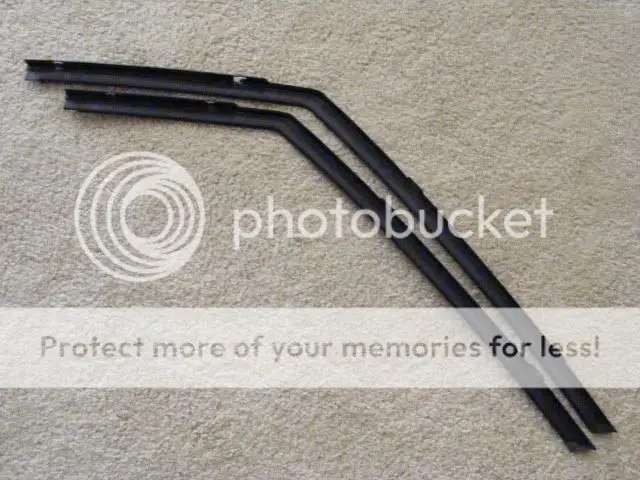
The black plastic trim that runs down the roof rail and sail panel. The standard is longer than the Landau. These are the pieces that nobody tells you about needing :lol:
Here is a sideways picture of the standard b-pillar trim that needs the plastic reatining clips installed to use this trim. You will need to find a body shop that has a stud weld gun that can do the style you need for the clips or you can use short screws to attach the plastic clips to your b-pillar.

But I would highly recommend this route. The standard window Classic (Bright trimwork) b-pillar trim. It simply wraps around the entire outside b-pillar and uses the factory holes and screws that secure the window roof rail weather strip reatining trim. Takes like 30 seconds to install.

I hope this helps some of you guys out there. All of the parts that I needed for this swap, I bought from members on this site. Thanks again to all the members that sold me the parts to do it.


I started out by getting all the parts I could think of before hand so I could do the swap quickly with no downtime. You will need to roundup;
-Standard windows - be sure to think about if you want factory tinted windows (A/C cars) or not.
-Inside upper and lower sail panels from a standard coupe - your b-pillar trim will work w/ both
-New window felts - you may need to trim the length slightly to fit your car exactly
-The black plastic trim that follows the roof/sail panel on the outside - standard is longer
-B-Pillar chrome trim - non Landau standard trim is thin and requires plastic clips to hold the trim to the b-pillar. Non Landau "Classic/Bright" trim is wide and wraps around the b-pillar post and attaches using the factory screws that hold the window roof seal retaining trim to the side of the b-pillar.
-3M windshield adhesive - I used one tube each side. A bit excessive, but there is no room for water to buildup and cause rust problems.
Here is the upper and lower sail panels removed. You can see the 2 nuts that secure the outer Landau trim to the car. Look very closely to the 2 lower sail panel attachment brackets. On the rear bracket you will see a pre-drilled hole less than 1/4" to the right and of the bracket (the other pre-drilled hole is behind the bracket in this picture). Looking at the foward lower bracket you will notice pre-drilled holes 2-3" foward of where the bracket is in its Landau sail panel position. During test fitting and final assembly, YOU WILL NEED TO MOVE THESE BRACKETS TO THE FOWARD PRE-DRILLED POSITIONS for the standard sail panels to fit CORRECTLY.
Remove the 4 brackets that help secure and set the window in the frame. 2 on the bottom, 1 on top, and 1 on the sail panel side.
Remove the Landau trim. Cut the factory adhesive. I used a utility knife with the long flexible blades. You can cut a window out quick w/ one of these.
Locate and save these isolators. You will need them for the new quarter windows to sit on.
Locate and remove and save the screws securing the Landau window felt.
Remove the outside black plastic trim from the roof line/sail panel.
Remove and clean all the factory adhesive.
On the outside find the seam where the standard pillar is seam sealed to the Landau pillar. I used the same utility knife to cut out the seam sealer to leave a nice deep straight groove to cut and seperate the 2 pillars. Some say you can seperate the spot welds from the inside, but cutting from the outside seemed really easy and quick.
At the bottom rear of the Landau piller you will find a welded/braised area securing the pillar to the quarter, a few seconds with a hacksaw blade takes care of this
The top was secured with several spot welds, so I just went straight across the Landau pillar only
I used an angle grinder with a cutting disk for the cut to seperate the 2 pillars. Make sure you do whatever necessary to protect your interior when you start cutting.
There are 3 or 4 spot welds in the inside. I sed a little grinder action and a few taps with the chisle
to get these loose
Ahhh, 1 more spot weld I had forgotten about....almost there
Boo-Yow! It's out
Clean up all those sharp edges and I recommend using your new glass as a template to straighten your window opening lip. GM did not care how warped the lip was while spot welding robots twisted the frames all up. The adhesive and window felts took up the slack so that you would probably never notice.
Use your new window to do as many test fits as necessary. The new window felt is in place in the photo. Also notice the "new" lower sail panel attachment bracket location in the foward pre-drilled holes. We reuse the rubber isolators that the window will rest on and window felt screws.
Now take it back apart and do any rust repair, body work, or painting needed.
I am missing several pictures of using the adhesive to set the windows, so I'll move on to some of the differences between all the standard and Landau parts.
Here we have the windows. The standard window is longer that the Landau window. You can also see why I told you to think about what windows you want to source (A/C or non-A/C)
The black plastic trim that runs down the roof rail and sail panel. The standard is longer than the Landau. These are the pieces that nobody tells you about needing :lol:
Here is a sideways picture of the standard b-pillar trim that needs the plastic reatining clips installed to use this trim. You will need to find a body shop that has a stud weld gun that can do the style you need for the clips or you can use short screws to attach the plastic clips to your b-pillar.
But I would highly recommend this route. The standard window Classic (Bright trimwork) b-pillar trim. It simply wraps around the entire outside b-pillar and uses the factory holes and screws that secure the window roof rail weather strip reatining trim. Takes like 30 seconds to install.
I hope this helps some of you guys out there. All of the parts that I needed for this swap, I bought from members on this site. Thanks again to all the members that sold me the parts to do it.
 /
/